Set Up D-LINK Wi-Fi Range Extender DAP Using the WPS Button
Set Up D-LINK AC1200 Wi-Fi Range Extender DAP-1620 Using the WPS Button:
Getting a sufficient wifi range is a problem everyone faces every now and then. Even in your home, if your wifi is fixed in a corner, it is highly unlikely for the connectivity range to reach the entire house. Here’s when it becomes necessary to use a range extender.
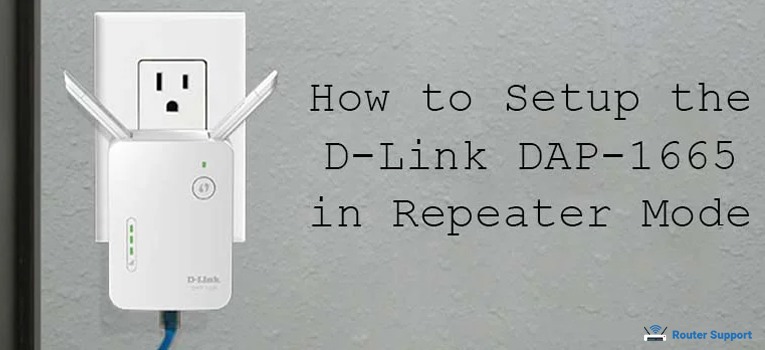
The DAP-1620 is an ideal range extender for small offices, and other spaces covering small areas. It plugs in easily in the wall socket without having to deal with long power cords or extension cables. The antennas help in improving the connectivity and even fold away for easy portability.
To Set Up D-LINK AC1200 Wi-Fi Range Extender there are various methods you could follow. We will list down the easiest ways for you to try and get your extender up and running.
1. Through WPS Button on D-LINK :
Before following this setup process, make sure your range extender has a virtual or actual WPS button.
Step 1: As the amber light of the WPS button is blinking, you need to press the source router’s WPS button. After that, you need to push the D-Link 1620 range extender’s WPS button.
Step 2: The light will flash green for a few seconds. Give the process 2 minutes to complete.
Step 3: Once the light becomes solid green, it will be indicative of the extender’s successful connection with the access point/source router.
Step 4: Now it is ready to share an extended network and you can easily connect your devices with it. The password for your extended network will be the same s your source router.
2. Through QRS Mobile App:
Another method to Set Up D-LINK AC1200 Wi-Fi Range Extender is through other devices like your mobile phone. It can be set up with an iPad, iPhone, or any other android phone.
Step 1: Before starting the setup process, install the QRS Mobile App from the Google Play Store or App Store according to the device you are using.
Step 2: After the installation, it's time to configure the extender. Head to the section of the wireless device in settings. Connect to your wifi extender by scanning the SSID name listed on the configuration card.
Step 3: Choose and enter the wifi password as given.
Step 4: Once done, open the QRS Mobile App.
Step 5: Click start to continue and on the next page click continue.
Step 6: The app will automatically scan for extender and then for wifi networks.
Step 7: Click on the network you would like to extend.
Step 8: In case your wifi network does not show up in the list, make sure you rescan.
Step 9: Enter the password for the wifi network and to continue hit next.
Step 10: Now you can enter the network name and the password to get access to the extended connection.
Step 11: When you are done, press Next to continue.
Step 12: Create the password for the extender and click Next.
Step 13: A summary of your setting will appear and you can click on Save to complete the entire process.
It is easy to Set Up D-LINK AC1200 Wi-Fi Range Extender with the above steps if followed diligently.
Suraj Singh
Last Update: 27 Dec 2023


Popular Post